
Logo digitizing, file correction and format conversion
Embroidery digitizing service: your logo as a test-stitched embroidery file
Embroidery digitizing turns a logo into the stitch file an embroidery machine reads, with stitch types, direction, underlay and density set for the fabric. nakis.online digitizes logos in its Istanbul workshop to DST, PES or another common format, and test-stitches file-only work before delivering it to you or to the workshop you work with.
Last updated:
Key facts
- Who it suits
- Companies and workshops that have their embroidery done with us or elsewhere
- You send
- The logo (AI, EPS, PDF, SVG, PNG or JPG), the item and fabric, the approximate size
- Test stitching
- File-only work is test-stitched before delivery
- Embroidery file
- DST as standard; PES on request
- Price and turnaround
- Set in the quote, once we have seen the logo or the file
- Machines
- Tajima and Barudan multi-head embroidery machines
- Embroidery orders
- From 10 pieces
- Languages
- Turkish, English, German, Arabic, Russian
What is embroidery digitizing?
An embroidery machine cannot read a picture; it needs a list of commands that tells the needle where to go, in what order and in what step. Embroidery digitizing (digitising in British spelling, also called punching) turns a logo into that list. We prepare the embroidery file in DST format as standard, and in PES if you ask for it.
The person who does this is a digitizer. For each area of the logo, the digitizer picks a stitch type: satin for letters and narrow bands, fill (tatami) for wide areas, run stitch for outlines and fine detail. Then comes the stitch direction, because the same colour reflects light differently when it is sewn in another direction. The underlay that carries the top stitches and the density are set for the fabric, and pull compensation allows for the fabric drawing in during stitching.
A well-digitized design gives sharp edges, leaves no gaps and does not pucker the fabric.
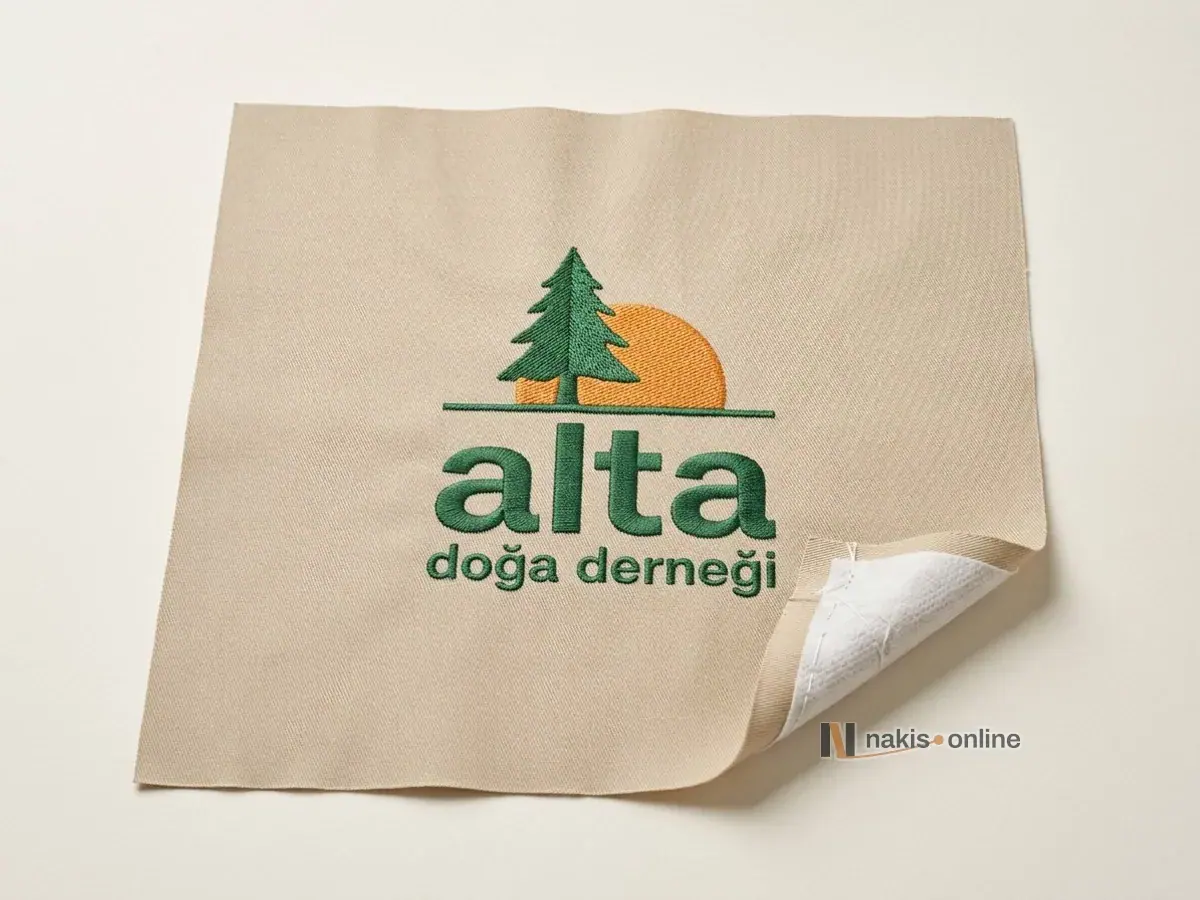
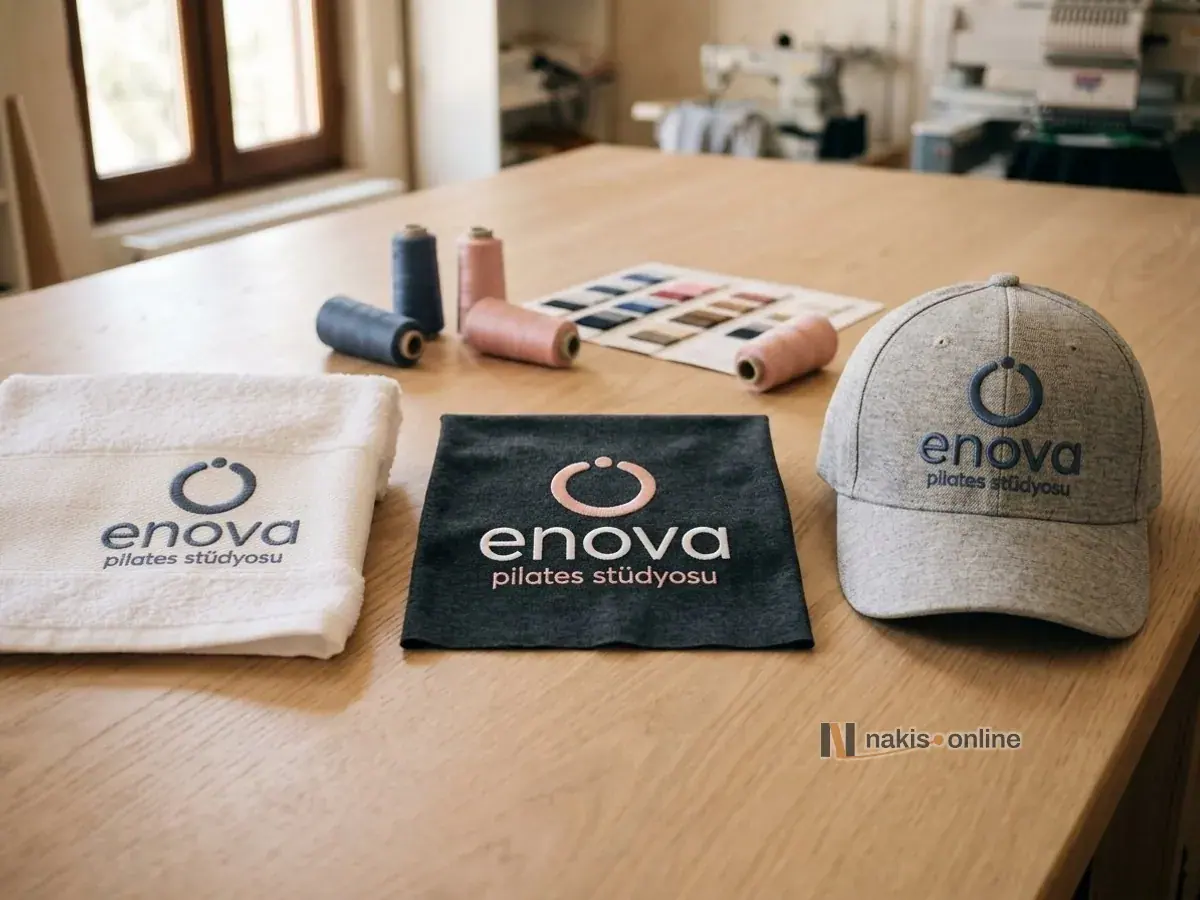
Can you order only the embroidery file?
Yes. Even if the embroidery is not done with us, we can prepare the embroidery file for your logo and deliver it to you or to the workshop you work with. This suits clothing workshops with their own embroidery machines and brands that have their embroidery done elsewhere. When you order only the file, we still stitch it out on fabric in our workshop to test it before we deliver it. The delivery terms and the scope of any revisions are settled in writing in the quote, as is the way you see the test stitching.
Before you ask for a quote, have three things ready: the fabric the file will be stitched on, the width of the logo and the machine that will read the file. The same logo may need two separate files for a jersey T-shirt and a cap; if your machine reads a format other than DST, we deliver the file in that format.
If the embroidery is done with us, digitizing is the first step of the order: the file is tried out on the sample, what the sample shows goes back into the file, and the run starts after your approval.
A file needs no courier, and the logo, the questions and the quote can all go back and forth in writing. We can handle quotes and order correspondence in writing in Turkish, English, German, Arabic or Russian.
How does a JPG or PNG logo become a DST file?
A JPG or PNG carries no stitch information. In manual digitizing it is the background the digitizer works over; in automatic digitizing it is the input. According to the documentation of the embroidery software Wilcom EmbroideryStudio, the quality of an automatically digitized design depends greatly on the type and quality of the original artwork, and a scanned image may need touching up first.
Vector artwork gives the cleanest result; screenshots and small images downloaded from social media lose edge detail. With the file, tell us the item, the fabric, the approximate width of the logo and any corporate colour references. From a logo to a DST file, the work runs in five steps:
- Cleaning the image: blurred and shaded areas are simplified, gradients are planned as thread shades or as plain colour areas, and small lettering is checked.
- Size and base: density and underlay are set for the width of the logo and for the fabric.
- Stitch plan: each area gets a satin, fill or run stitch and a stitch direction.
- Sequence and trims: colours are ordered with the fewest thread changes, and the jumps between parts are shortened.
- Test and delivery: the file is tried on fabric, then delivered as DST, as PES on request, or in the format your machine reads.
How does the detail in a logo change the file?
Very fine detail does not shrink well in thread. In embroidery, letters should not be smaller than about 5 mm in height, and a satin column needs a width of at least about 1 mm. Slogans, thin lines and tiny text below those limits are simplified or removed during digitizing, and if something has to be simplified, we tell you exactly which detail changes:
| Detail in the logo | What digitizing does with it | Size or note |
|---|---|---|
| Small lettering | Reset in a legible typeface; enlarged or removed if needed | Lower limit: letter height of about 5 mm |
| Thin lines and outlines | Converted to a satin column or a run stitch | A satin column needs a width of at least about 1 mm |
| Large single-colour areas | Covered with fill (tatami) stitches | These areas add the most stitches; at large sizes, appliqué may be an option |
| Gradients | Built up in thread shades or split into plain colour blocks | If a smooth blend matters, print is considered too |
| Many colours | Ordered with the fewest thread changes | The number of colours is one of the price factors |
Why does the same logo need a different file for each fabric?
Fabric moves while it is being stitched. Jersey stretches, towelling has a pile, a cap panel is curved, shirt poplin is thin. One programme stitched on every base makes a logo that is clean on one fabric pucker on another, or sink into the pile.
That is why we need to know the item and the fabric when you order a file, and the size the logo will be stitched at. A DST file consists of stitch commands: when it is enlarged or reduced on the machine, the stitch count stays the same and only the spacing opens up or closes in, so a marked change of size means the programme has to be edited.
| Item | Stabilizer | What changes in the programme |
|---|---|---|
| Jersey T-shirt | Cut-away | Density reduced, pull compensation increased for the stretch |
| Polo shirt (piqué) | Cut-away | Underlay strengthened so the stitches don’t sink into the piqué texture |
| Towel | Water-soluble topping | Strong underlay that flattens the pile |
| Cap | Tear-away | Stitches sequenced from the centre outwards |
| Shirt poplin | Tear-away | Light fill and light underlay |
Digitizing, correcting or converting: which do you need?
All three end in an embroidery file. What you already hold decides which one you need: a logo, a file digitized elsewhere, or a format your machine cannot read.
| Job | When you need it | What you send | What you get |
|---|---|---|---|
| Digitizing | The logo is not yet an embroidery file | The logo (vector, PNG or JPG), the item, the fabric and the size | A file digitized for your fabric: DST; PES or another format on request |
| Correction | A file digitized elsewhere causes problems on fabric, or has to move to a new size or fabric | The embroidery file, the item, the fabric and the required size | The corrected file |
| Conversion | Your machine cannot read the file’s format | The embroidery file and the format your machine reads | The file in the format you need, such as DST, PES, JEF, EXP, VP3 |
Can you fix an embroidery file digitized elsewhere?
Yes. We also correct embroidery files that were digitized elsewhere: we adjust the size, density, colour sequence and trims, adapt the file to a new fabric and deliver the corrected file. A file is prepared for one fabric, one size and one machine; change one of these and the same file gives a different result, and the problem shows on the fabric, not on the screen:
| Problem | How it looks on the fabric | What is done in the file |
|---|---|---|
| Puckering | The fabric gathers around the logo; ripples show after washing | Density reduced for the fabric; underlay and stitch order adapted to the new base |
| Gaps | Fabric shows between fill and outline; letter edges drift | Stitch order rearranged; if the fabric’s pull causes the gap, the file is adapted to the new fabric |
| Too dense | The embroidery stiffens like card, holes open in thin fabric, thread breaks | Density thinned for the fabric and the thread |
| Lettering that clogs when reduced | The insides of letters such as a, e and o close up | Density set for the new size; below a letter height of about 5 mm, the lettering is simplified or enlarged |
| Unnecessary trims | Thread ends on the front and back; the machine stops often | Consecutive jumps and extra trims cleaned up; travel between parts shortened |
| Confused colour order | The machine returns to the same colour several times; outlines end up under the fill | Colour blocks merged; fills sequenced before outlines |
| New fabric | A file made for piqué sinks into a towel’s pile; a flat-fabric file shifts on a cap | File adapted to the new base: density, underlay and stitch order rebuilt |
Correct it, or digitize it again?
The structure of the file sets the limit. A DST file stores stitches one by one; it has no editable letters, shapes or colour areas. A small size change, the density, the colour order and the trims can be fixed in the file; a logo made much smaller, changed lettering or a completely different base usually means digitizing it again. We tell you which it is after seeing the file and the item. If you also have the project file from the embroidery software, say so: it keeps the objects and is far easier to edit than a stitch file, and which project files we can work with is settled in the quote.
What to send for a correction
With the file, four details are enough: the item and the fabric, the required width of the logo, the machine that will read the file and what the problem is. The easiest way to describe the problem is a close-up photo of the embroidered item, front and back. To check a file first, open it in our embroidery file viewer: the size, the stitch count, the colour order and the trims appear under the preview.
DST, PES, JEF, EXP, VP3: which machine reads which format?
DST comes from Tajima. Each record holds the needle’s movement relative to the previous point, in units of 0.1 mm, with a single step of at most 12.1 mm. There are jump and colour-change commands, but a trim is not a separate command: it is coded as consecutive jumps, which the machine’s settings turn into a cut. We convert embroidery files between common formats such as DST, PES, JEF, EXP and VP3. Which format you need and the details of the conversion are settled in the quote.
Converting a file keeps its stitches: the needle goes to the same points in the same order. What changes between formats is how colour and trim information is written. Because DST has no thread colours, the colours on screen after converting DST to PES or JEF are a guess, and the right sequence has to be written out separately with thread numbers; from PES to DST, the colour information is lost. Changing the format does not fix a fabric problem either: a file made for another fabric or size puckers or leaves gaps just as it did before, and then it needs correcting as well.
Which format a machine reads depends on the brand and sometimes on the model, so please confirm yours in its user manual:
| Format | Machines that commonly read it | Thread colour information | With us |
|---|---|---|---|
| DST | Tajima and most industrial multi-head machines | None; colours are assigned to the needles on the machine | Standard output |
| PES | Brother and Baby Lock | Yes | Output on request |
| JEF | Janome | By position in Janome’s thread list | Conversion; details in the quote |
| EXP | Melco and high-end Bernina models | None; only the colour-change points | Conversion; details in the quote |
| VP3 | Husqvarna Viking and Pfaff | Yes | Conversion; details in the quote |
What decides the cost of digitizing?
Logo digitizing is listed separately in the quote. The price and turnaround of file work are set in the quote, once we have seen the logo or the file. The detail of the logo decides how much work it takes: many colours, gradients and small lettering need longer than a plain, bold logo. We don’t publish a fixed list of digitizing prices, because the same logo may need two separate files for a jersey T-shirt and a towel.
The embroidery file we digitize for your logo is yours, and we hand it over whenever you ask. When you reorder the same logo at the same size, we don’t charge for digitizing a second time. If the size of the logo or the product it goes on changes, the changes the file needs and their cost are settled in the quote.
Questions about embroidery digitizing
What is the difference between an online JPG-to-DST converter and digitizing?
A converter turns the image into stitches automatically; it cannot see the fabric the logo will be stitched on, so it sets the underlay, the density and the pull compensation to general default values. In digitizing, these three settings are chosen by hand for that fabric, and the file is tried on fabric before delivery.
Can you digitize a logo from a JPG?
Yes, as long as the image is sharp. The programme is built stitch by stitch over the logo, and the quality of the source image affects how clean the edges are and how much small detail survives. If you have a vector file, we prefer that.
Which machines will the file run on?
DST is the common format that most industrial multi-head machines read, Tajima and Barudan included. If your machine reads another format, we deliver the file in the one you need, such as DST, PES, JEF, EXP, VP3. If the file will be stitched on another fabric or at another size, it is edited for that base separately.
Is an online PES-to-DST converter enough?
Often, yes, if the file already stitches cleanly on your fabric and only the format has to change. An online converter does not touch the stitches, so puckering, gaps or a wrong size carry over into the new format, and a file moved to DST needs its colour sequence written out separately with thread numbers. If it needs correcting, send it to us with the item and fabric details.
Can you also embroider with the corrected file?
Yes. If the embroidery is done in our workshop, the correction runs together with the sample step: the file is tried out on the sample and adjusted again if needed. We start production once you have approved the sample; the approved sample is the reference for the whole run.
Quote
Send your logo or embroidery file
Send the logo or the file, the item and fabric, the size and the machine that will read the file. We reply in writing with the price and the timing.
Working hours: Monday–Saturday 08:30–19:00 · Istanbul time (UTC+3)